
Avez-vous déjà regardé votre vieille voiture à essence et pensé : « Pourquoi ne pas passer à l'électrique ? » Que ce soit à cause de la hausse des prix du carburant, des préoccupations environnementales ou simplement d'un simple désir de bricolage, convertir votre voiture à l'électrique peut être un projet enrichissant. Si l'idée peut paraître compliquée ou coûteuse, en réalité, avec les bons outils et une bonne planification, vous y parviendrez. peut fais-le avec un budget limité.
Ce guide étape par étape vous accompagne tout au long du processus, du choix du véhicule idéal à la prise de route avec votre véhicule électrique maison. Nous détaillerons les coûts estimés, les outils nécessaires et le temps à prévoir. Prêt à retrousser vos manches ? C'est parti !
Étape 1 : Décidez si une conversion en véhicule électrique vous convient

Avant de vous lancer, posez-vous quelques questions clés :
- Avez-vous des connaissances de base en mécanique et en électricité ?
- Êtes-vous prêt à passer plusieurs week-ends (ou plus) dans le garage ?
- Pouvez-vous vivre avec un véhicule qui ne va peut-être pas aussi loin ou aussi vite qu’un véhicule électrique fabriqué en usine ?
Si vous avez répondu « oui » à ces questions, vous êtes déjà sur la bonne voie.
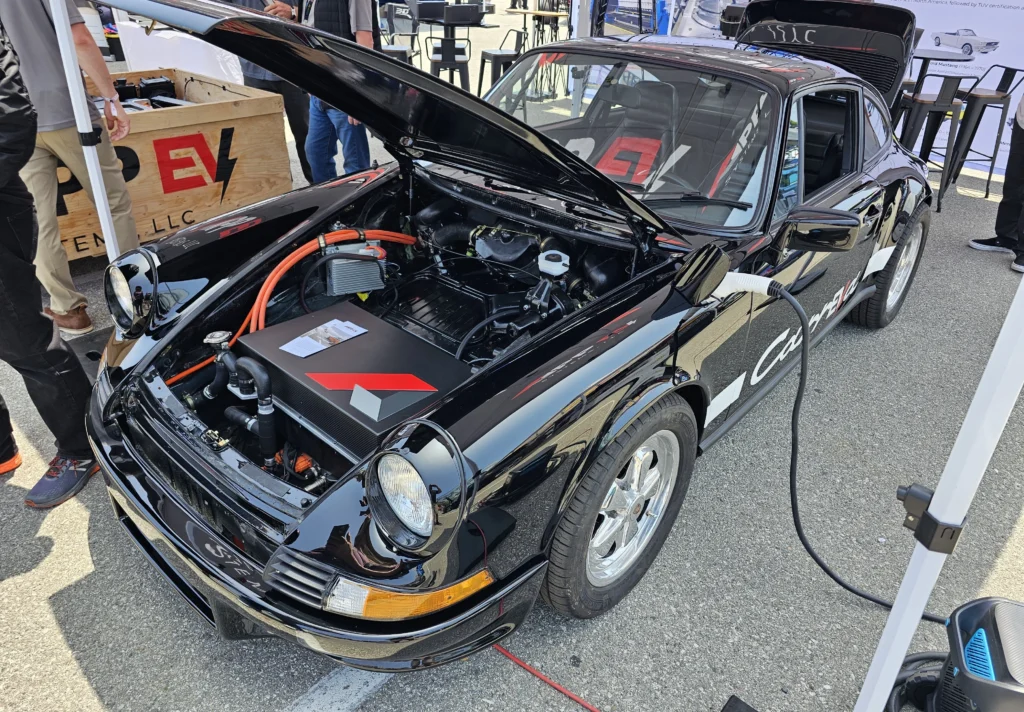
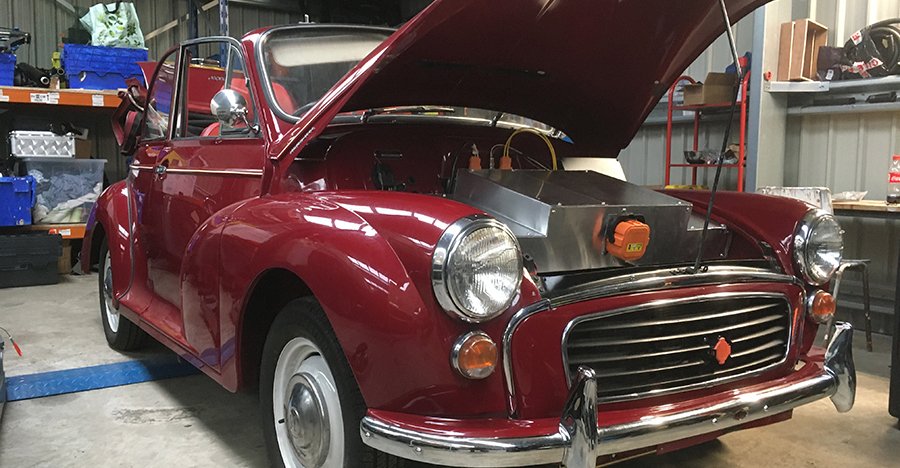
Étape 2 : Choisir la bonne voiture donneuse

Tous les véhicules ne sont pas adaptés à la conversion électrique. Vous recherchez une voiture qui :
- Léger – plus c'est léger, mieux c'est pour maximiser la portée.
- Transmission manuelle – plus facile à adapter à un moteur électrique.
- En bon état structurel – vous n’investissez donc pas dans la réparation de la rouille.
Les choix populaires incluent des modèles plus anciens comme la Honda Civic, la Mazda MX-5, la Volkswagen Golf ou même un petit pick-up comme le Toyota Hilux.
Coût estimé:
- Voiture d'occasion en bon état : $500–$3,000
Étape 3 : Trouvez votre kit de conversion ou vos composants pour VE
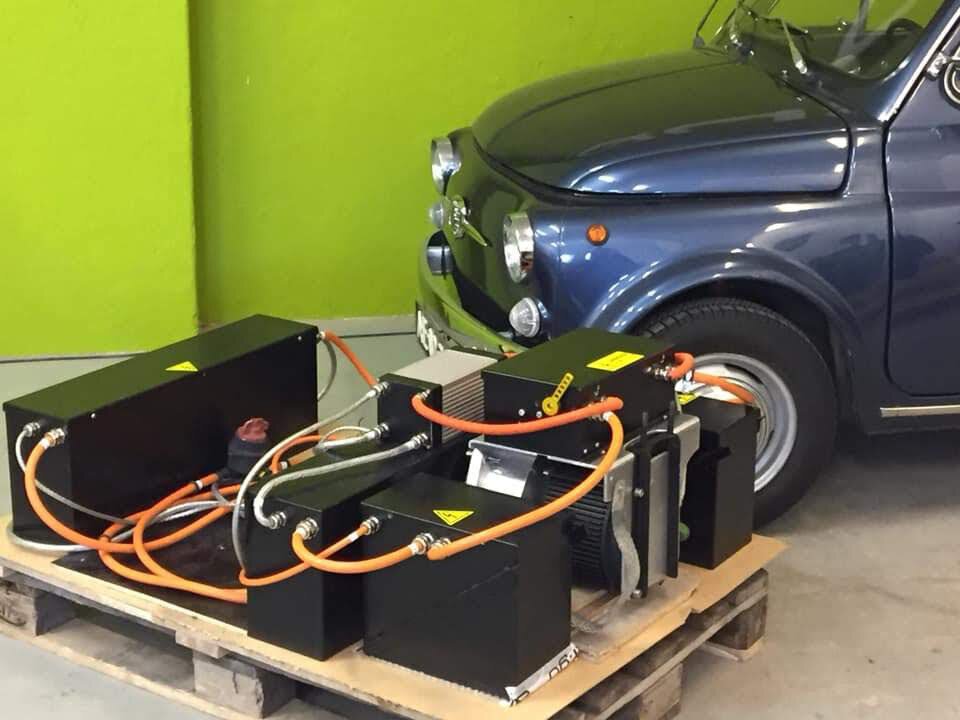
Vous avez deux options :
- Achetez un kit de conversion complet, ou
- Composants source individuellement.
Composants de base dont vous aurez besoin:
- Moteur électrique (généralement à courant continu ou alternatif)
- Contrôleur de moteur
- Pack de batteries (lithium-ion de préférence)
- Chargeur
- Convertisseur DC-DC (pour système 12 V)
- Plaque d'adaptation (pour connecter le moteur à la transmission)
- Contrôleur d'accélérateur
- Fusibles, câblage, contacteurs et équipement de sécurité
Si votre budget est serré, vous pourriez rechercher des pièces d'occasion provenant de véhicules électriques accidentés comme une Nissan Leaf ou une Chevy Volt. Les forums de bricolage, Facebook Marketplace et eBay peuvent être des mines d'or pour cela.
Coût estimé:
- Kit complet : $6 000–$10 000
- Approvisionnement en pièces détachées pour bricolage : $3 000–$7 000
Étape 4 : Rassemblez vos outils et votre équipement de sécurité
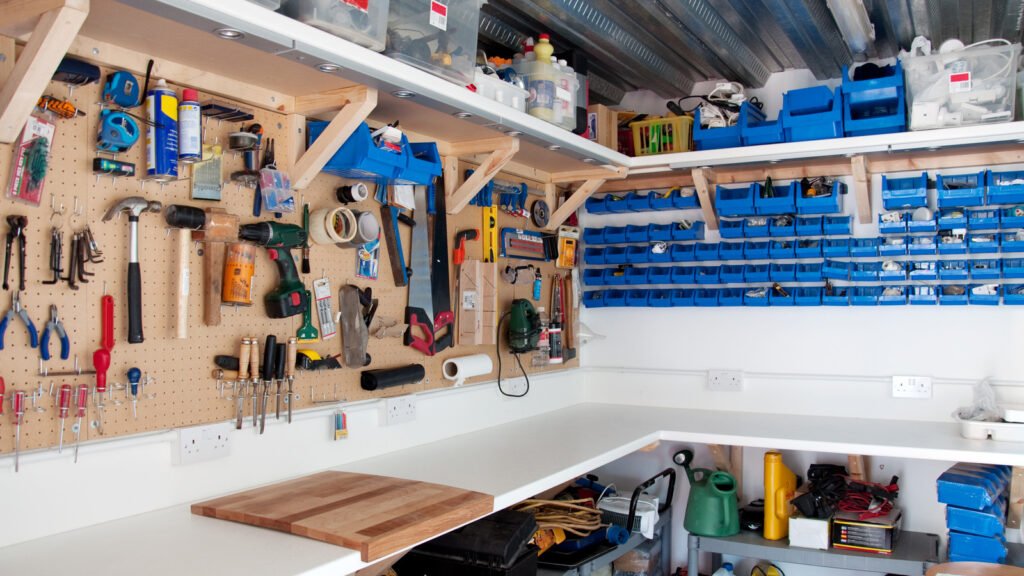
Vous n’avez pas besoin d’un garage professionnel, mais vous volonté besoin:
Outils de base:
- Jeu de clés à douille
- Tournevis
- Chandelles
- Palan à moteur
- Clé dynamométrique
- Pinces à sertir les fils
- Percer
- Multimètre
Équipement de sécurité:
- Gants isolants
- Protection des yeux
- Extincteur
- Signalisation haute tension
Si vous ne possédez pas ce matériel, envisagez de l'emprunter ou de le louer. Les bibliothèques d'outils communautaires peuvent être une ressource étonnamment utile.
Coût estimé:
- Outils et équipement de sécurité : $300–$800 (selon ce que vous possédez déjà)
Étape 5 : Retirer le système de combustion interne
Maintenant, place au vrai travail. Il vous faudra supprimer :
- Moteur
- Système d'échappement
- Réservoir à carburant
- Radiateur
- Alternateur
- Démarreur
Cette étape peut prendre de 1 à 3 week-ends selon votre expérience et si vous travaillez seul ou avec des amis.
Conseil de pro : étiquetez chaque fil et tuyau que vous retirez, même si vous pensez ne plus en avoir besoin. Cela vous évitera bien des soucis plus tard.
Laps de temps: 20 à 40 heures
Coût:Gratuit (vous pourriez même vendre quelques vieilles pièces !)
Étape 6 : Installer le moteur électrique et la plaque d’adaptation
Une fois le compartiment moteur dégagé, vous fixerez le moteur électrique à la transmission à l'aide d'une plaque d'adaptation sur mesure. Vous devrez peut-être fabriquer ou acheter des supports moteur pour fixer correctement l'ensemble.
L'alignement est ici crucial : si le moteur n'est pas parfaitement centré, vous aurez des problèmes de vibrations ou une usure prématurée.
Coût estimé:
- Plaque d'adaptation et supports : $300–$1 000
Laps de temps: 10 à 20 heures
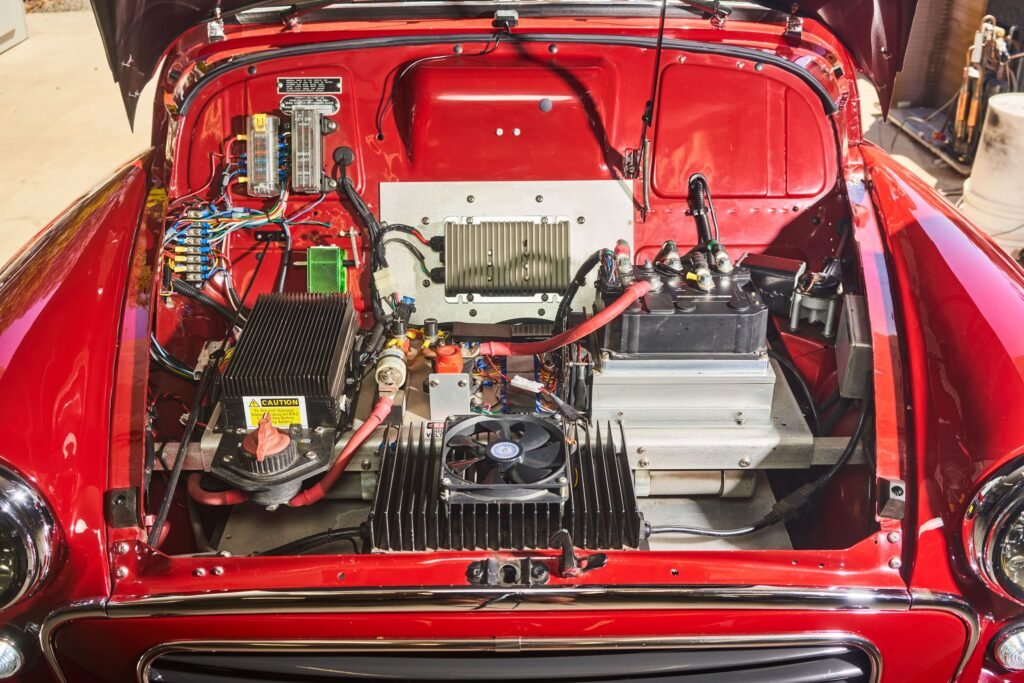
Étape 7 : Câbler le système
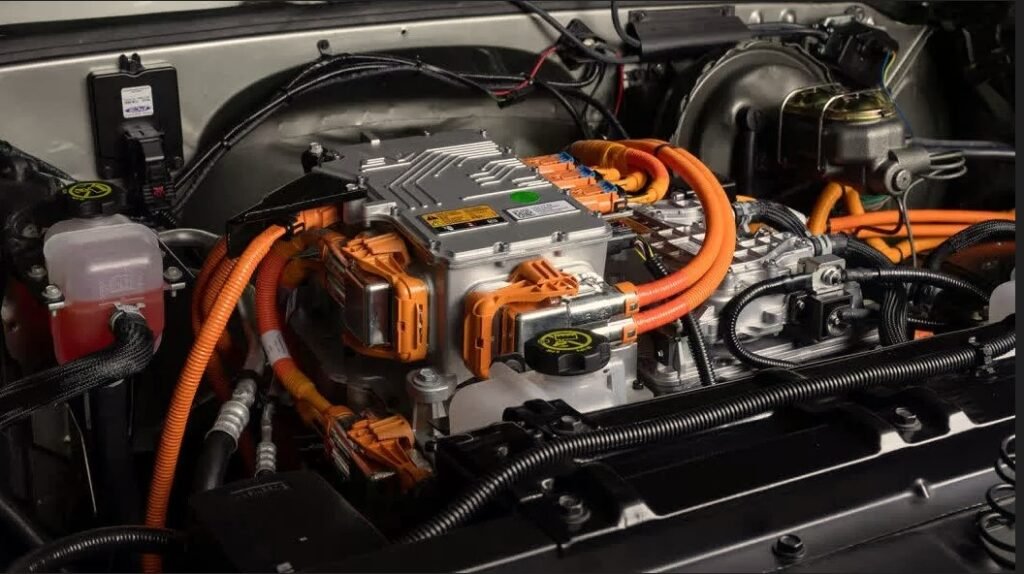
C'est là que les choses deviennent techniques. Vous allez câbler :
- Du moteur au contrôleur
- Contrôleur du pack de batteries
- Batterie au chargeur
- Convertisseur DC-DC vers le système 12 V
De nombreux bricoleurs trouvent cette étape intimidante. Prenez votre temps, vérifiez chaque connexion et consultez les schémas de câblage spécifiques à vos composants.
C'est une bonne idée d'utiliser un câblage à code couleur et des gaines thermorétractables pour que tout reste propre et sûr.
Coût estimé:
- Câblage et accessoires : $300–$600
Laps de temps: 30 à 50 heures
Étape 8 : Installer la batterie
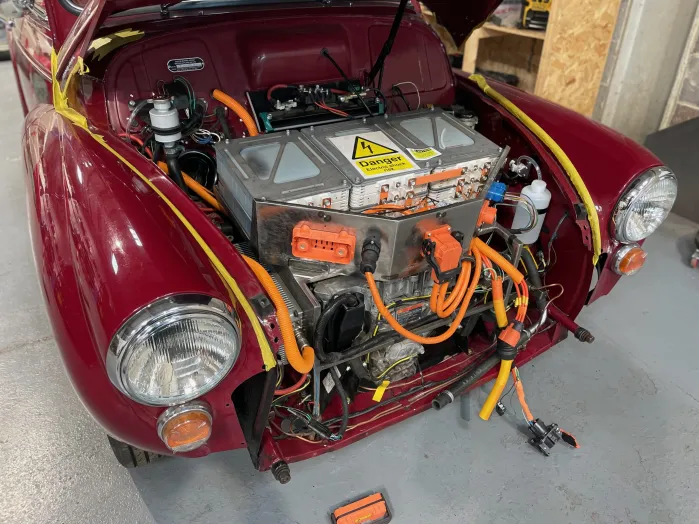
L'emplacement des batteries influence la tenue de route et les performances de votre voiture. Pour plus d'équilibre, répartissez-les généralement entre le compartiment moteur et le coffre. Un montage sûr est essentiel : évitez qu'elles ne bougent sur une route cahoteuse.
Assurez-vous que les batteries sont correctement isolées et que les câbles haute tension sont isolés du châssis.
Si vous avez un budget serré, commencez avec une batterie plus petite et effectuez une mise à niveau plus tard.
Coût estimé:
- Batteries lithium-ion : $2 000–$5 000
Laps de temps: 15–25 heures
Étape 9 : Installer le système de charge
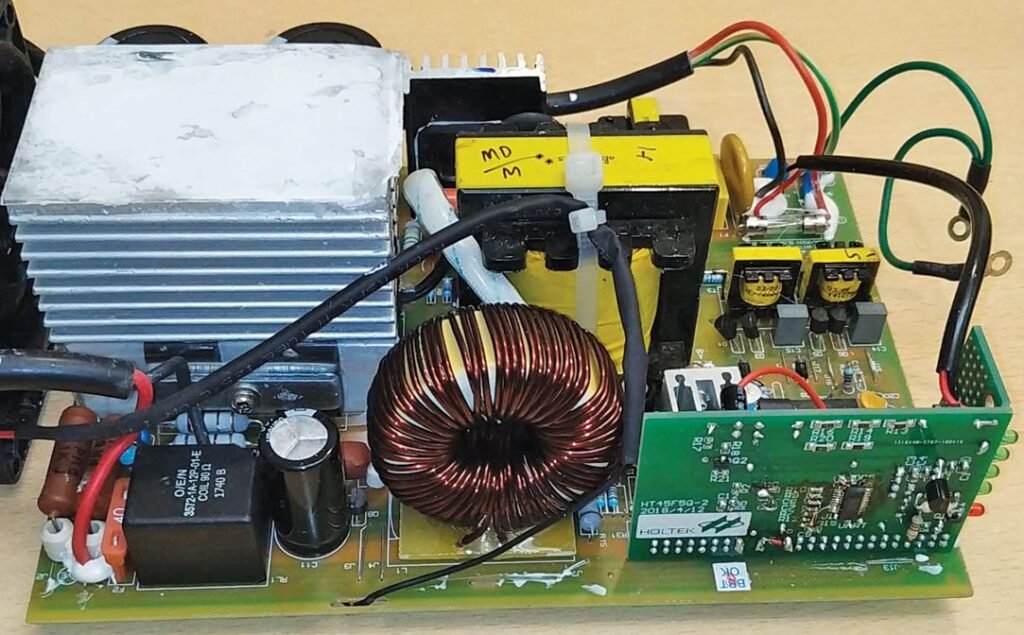
Installez le chargeur embarqué et branchez-le à votre batterie. Installez un port J1772 (prise VE standard de niveau 2) dans un endroit accessible, souvent à la place de l'ancien bouchon de réservoir.
Vous pouvez utiliser un chargeur de niveau 1 (120 V) à la maison pour commencer, ou passer au niveau 2 (240 V) pour une charge plus rapide plus tard.
Coût estimé:
- Chargeur et port embarqués : $400–$800
Laps de temps: 5 à 10 heures
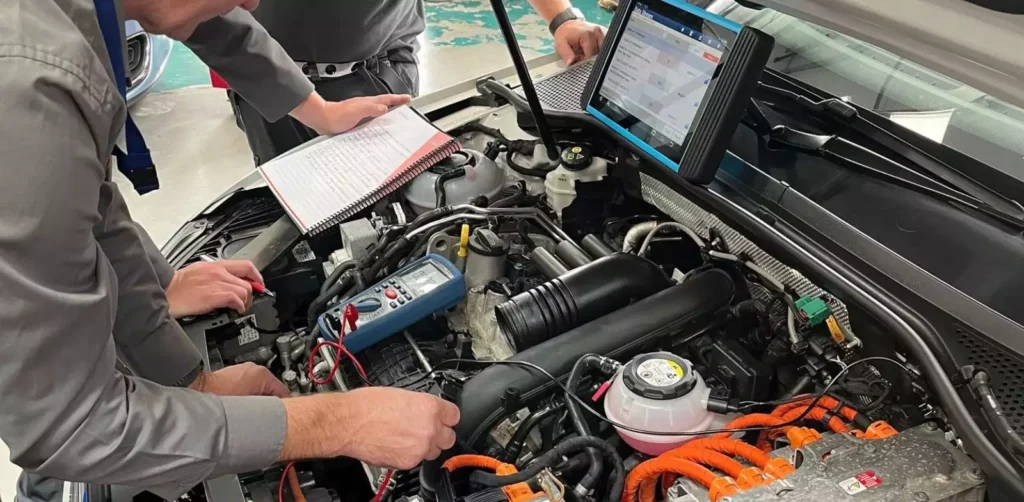
Étape 10 : Contrôles de sécurité et tests du système

Avant de tourner la clé (ou le contacteur), vérifiez deux fois :
- Tout le câblage est correctement isolé
- Pas de supports ou de boulons desserrés
- Le contrôleur est correctement programmé
- Les systèmes de freinage et de direction fonctionnent
Testez les composants un par un : rotation du moteur, charge de la batterie, alimentation des accessoires, etc. Si vous n'êtes pas sûr, consultez un mécanicien expert en véhicules électriques ou rejoignez un forum en ligne sur les véhicules électriques.
Étape 11 : Obtenez une certification et une légalisation
Les réglementations varient selon les pays et les États, mais la plupart des endroits exigent :
- Inspection de sécurité
- Documents d'exemption d'émissions
- Ajustements d'assurance
- Inscription mise à jour
Dans certaines régions, vous aurez besoin d'une certification d'ingénieur pour garantir que le véhicule est en état de rouler.
Coût estimé:
- Frais juridiques et d'enregistrement : $100–$500
Étape 12 : Profitez de votre véhicule électrique DIY à petit budget !

Une fois que vous êtes en règle sur la route, place aux choses sérieuses. Vous venez de transformer une vieille voiture gourmande en carburant en un véhicule zéro émission. Certes, votre véhicule électrique ne sera peut-être pas plus performant qu'une Tesla, mais la satisfaction de le construire soi-même ? Inestimable.
Budget total estimé
| Article | Gamme de prix |
|---|---|
| Voiture donatrice | $500–$3 000 |
| Kit/pièces de conversion | $3 000–$10 000 |
| Outils et équipements de sécurité | $300–$800 |
| Plaque d'adaptation et supports | $300–$1 000 |
| Câblage et accessoires | $300–$600 |
| Piles | $2 000–$5 000 |
| Chargeur et port de charge | $400–$800 |
| Frais d'inspection et frais juridiques | $100–$500 |
| Total | $6 900–$21 700 |
Peut-on convertir une voiture pour moins cher ?
Absolument. Certains bricoleurs ambitieux y sont parvenus pour seulement 1 TP4T5 000 :
- Utilisation de batteries et de moteurs récupérés
- Éviter les appareils électroniques non essentiels
- Commencer avec un véhicule très basique
- Faire chaque partie du travail eux-mêmes
Tout dépend du temps que vous êtes prêt à investir et de votre créativité dans l'approvisionnement des pièces.
Réflexions finales
Convertir une voiture à l'électrique ne se résume pas à économiser du carburant : c'est aussi apprendre, expérimenter et construire quelque chose de vraiment personnel. La première fois que vous entendez ce ronronnement silencieux du moteur et que vous réalisez toi Si vous y parvenez, vous saurez que chaque articulation éraflée et chaque séance de câblage nocturne en valaient la peine.
Alors, si vous êtes passionné, patient et pragmatique, ils disent : foncez, car la route vers l'électrique n'a pas besoin d'être pavée d'or.