
Haben Sie schon einmal Ihr altes Benzinauto betrachtet und gedacht: „Warum nicht auf Elektro umsteigen?“ Ob steigende Kraftstoffpreise, Umweltbedenken oder einfach nur der Drang zum Selbermachen – die Umrüstung Ihres Autos auf Elektro kann ein lohnendes Projekt sein. Auch wenn die Idee kompliziert oder teuer klingt, ist die Wahrheit: Mit den richtigen Werkzeugen und der richtigen Planung können Sie dürfen Machen Sie es mit einem begrenzten Budget.
Diese Schritt-für-Schritt-Anleitung führt Sie durch den gesamten Prozess – von der Auswahl des richtigen Fahrzeugs bis zur Abfahrt mit Ihrem selbstgebauten Elektroauto. Wir erläutern die geschätzten Kosten, die benötigten Werkzeuge und den Zeitaufwand. Bereit, die Ärmel hochzukrempeln? Los geht’s.
Schritt 1: Entscheiden Sie, ob eine Elektrofahrzeugumrüstung das Richtige für Sie ist

Bevor Sie eintauchen, stellen Sie sich einige wichtige Fragen:
- Verfügen Sie über grundlegende mechanische und elektrische Kenntnisse?
- Sind Sie bereit, mehrere Wochenenden (oder mehr) in der Garage zu verbringen?
- Können Sie mit einem Fahrzeug leben, das möglicherweise nicht so weit oder so schnell fährt wie ein serienmäßiges Elektrofahrzeug?
Wenn Sie diese Fragen mit „Ja“ beantwortet haben, sind Sie bereits auf dem richtigen Weg.
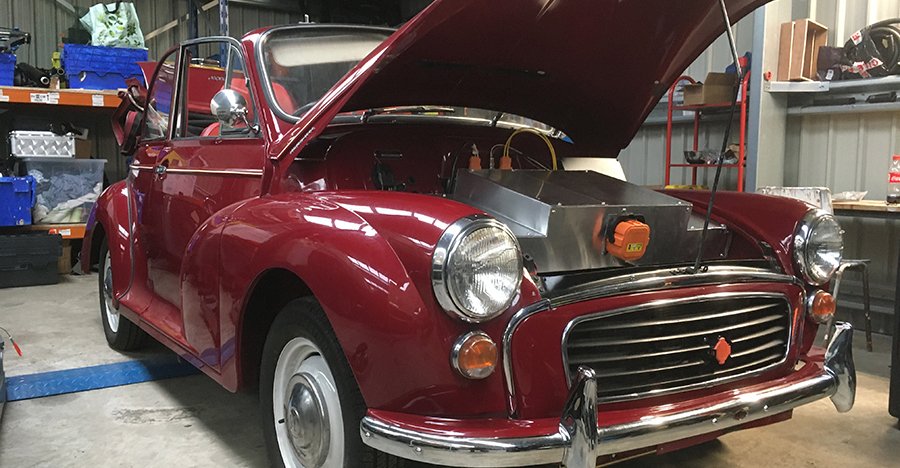
Schritt 2: Wählen Sie das richtige Spenderauto

Nicht alle Fahrzeuge sind gleichermaßen für eine Elektroumrüstung geeignet. Sie möchten ein Auto, das:
- Leicht – je leichter, desto besser, um die Reichweite zu maximieren.
- Schaltgetriebe – einfachere Anpassung an einen Elektromotor.
- In gutem baulichen Zustand – Sie investieren also nicht in die Rostreparatur.
Zu den beliebtesten Optionen zählen ältere Modelle wie der Honda Civic, der Mazda MX-5, der Volkswagen Golf oder sogar ein kleiner Pickup wie der Toyota Hilux.
Geschätzte Kosten:
- Gebrauchtes Spenderfahrzeug in ordentlichem Zustand: $500–$3.000
Schritt 3: Beschaffen Sie sich Ihr EV-Umrüstkit oder Ihre Komponenten
Sie haben hier zwei Möglichkeiten. Sie können entweder:
- Kaufen Sie ein komplettes Umrüstkit, oder
- Quellkomponenten einzeln.
Grundlegende Komponenten, die Sie benötigen:
- Elektromotor (normalerweise Gleichstrom oder Wechselstrom)
- Motorsteuerung
- Akkupack (Lithium-Ionen wird bevorzugt)
- Ladegerät
- DC-DC-Wandler (für 12-V-System)
- Adapterplatte (zur Verbindung von Motor und Getriebe)
- Drosselklappensteuerung
- Sicherungen, Verkabelung, Schütze und Sicherheitsausrüstung
Wenn Sie ein knappes Budget haben, können Sie nach gebrauchten Teilen aus kaputten Elektrofahrzeugen wie einem Nissan Leaf oder einem Chevy Volt suchen. Heimwerkerforen, Facebook Marketplace und eBay können hierfür wahre Goldgruben sein.
Geschätzte Kosten:
- Komplettsatz: $6.000–$10.000
- Beschaffung von DIY-Teilen: $3.000–$7.000
Schritt 4: Besorgen Sie sich Ihre Werkzeuge und Sicherheitsausrüstung
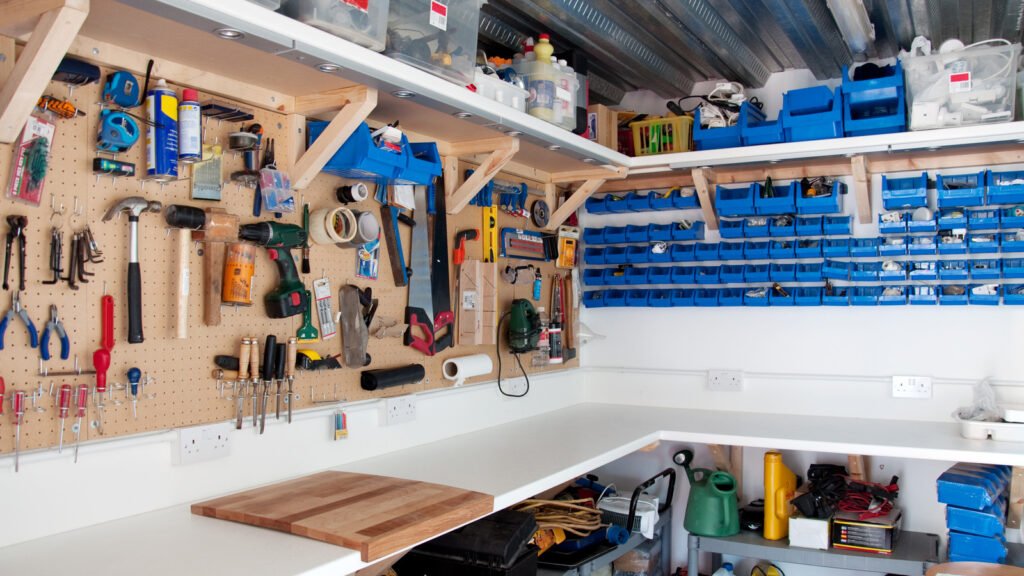
Sie brauchen keine professionelle Werkstatteinrichtung, aber Sie Wille brauchen:
Grundlegende Werkzeuge:
- Steckschlüsselsatz
- Schraubendreher
- Wagenheber
- Motorheber
- Drehmomentschlüssel
- Drahtcrimpzangen
- Bohren
- Multimeter
Sicherheitsausrüstung:
- Isolierte Handschuhe
- Augenschutz
- Feuerlöscher
- Hochspannungsbeschilderung
Wenn Sie einige dieser Geräte nicht besitzen, können Sie sie ausleihen oder mieten. Werkzeugsammlungen in der Gemeinde können eine überraschend nützliche Ressource sein.
Geschätzte Kosten:
- Werkzeuge und Sicherheitsausrüstung: $300–$800 (je nachdem, was Sie bereits haben)
Schritt 5: Entfernen Sie das Verbrennungssystem
Jetzt kommt die eigentliche Arbeit. Sie müssen Folgendes entfernen:
- Motor
- Abgasanlage
- Kraftstofftank
- Kühler
- Generator
- Anlasser
Dieser Schritt kann je nach Ihrer Erfahrung und je nachdem, ob Sie alleine oder mit Freunden arbeiten, 1 bis 3 Wochenenden dauern.
Profi-Tipp: Beschriften Sie jedes Kabel und jeden Schlauch, den Sie entfernen – auch wenn Sie glauben, dass Sie sie nicht mehr brauchen. Das erspart Ihnen später viel Ärger.
Zeitrahmen: 20–40 Stunden
Kosten: Kostenlos (Sie können vielleicht sogar einige alte Teile verkaufen!)
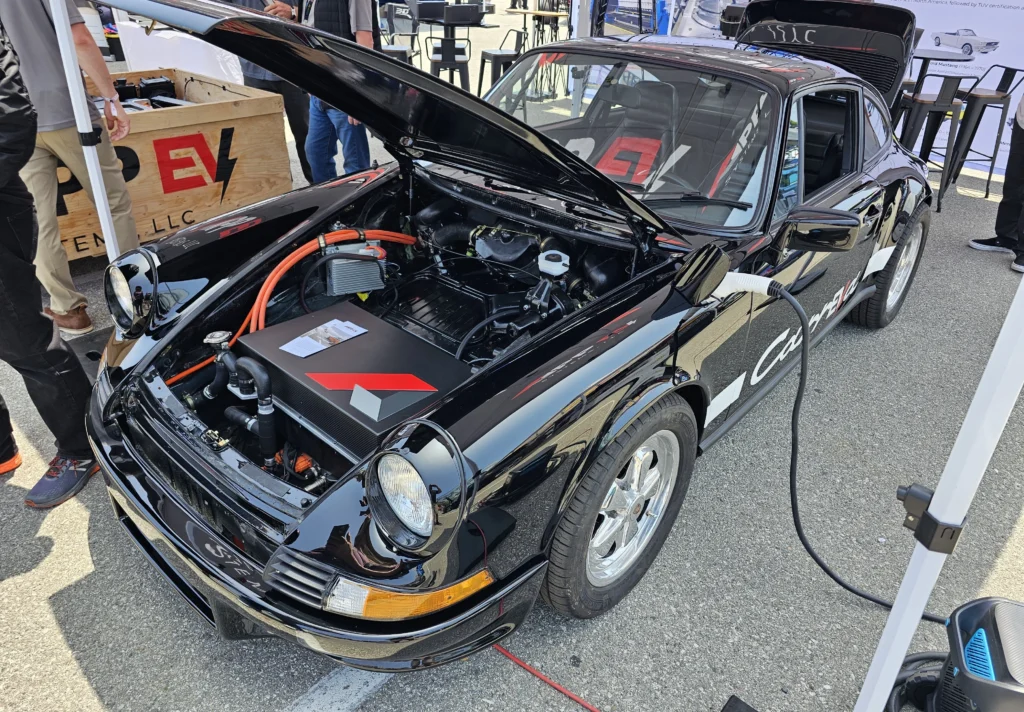
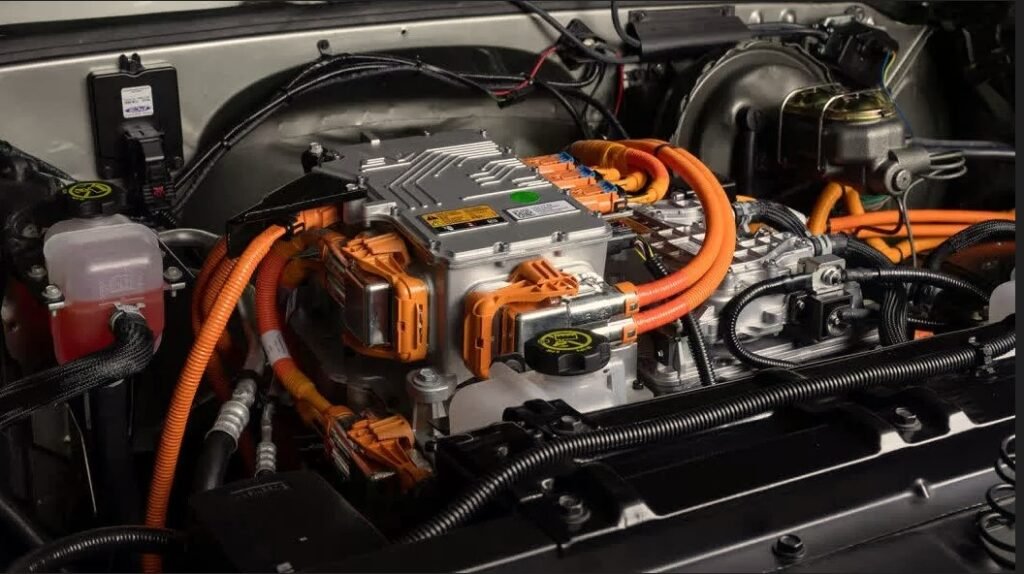
Schritt 6: Installieren Sie den Elektromotor und die Adapterplatte
Sobald der Motorraum frei ist, befestigen Sie den Elektromotor mithilfe einer speziellen Adapterplatte am Getriebe. Möglicherweise müssen Sie Motorhalterungen bauen oder kaufen, um die Einheit ordnungsgemäß zu befestigen.
Die Ausrichtung ist hier entscheidend – wenn der Motor nicht perfekt zentriert ist, kommt es zu Vibrationsproblemen oder vorzeitigem Verschleiß.
Geschätzte Kosten:
- Adapterplatte und Halterungen: $300–$1.000
Zeitrahmen: 10–20 Stunden
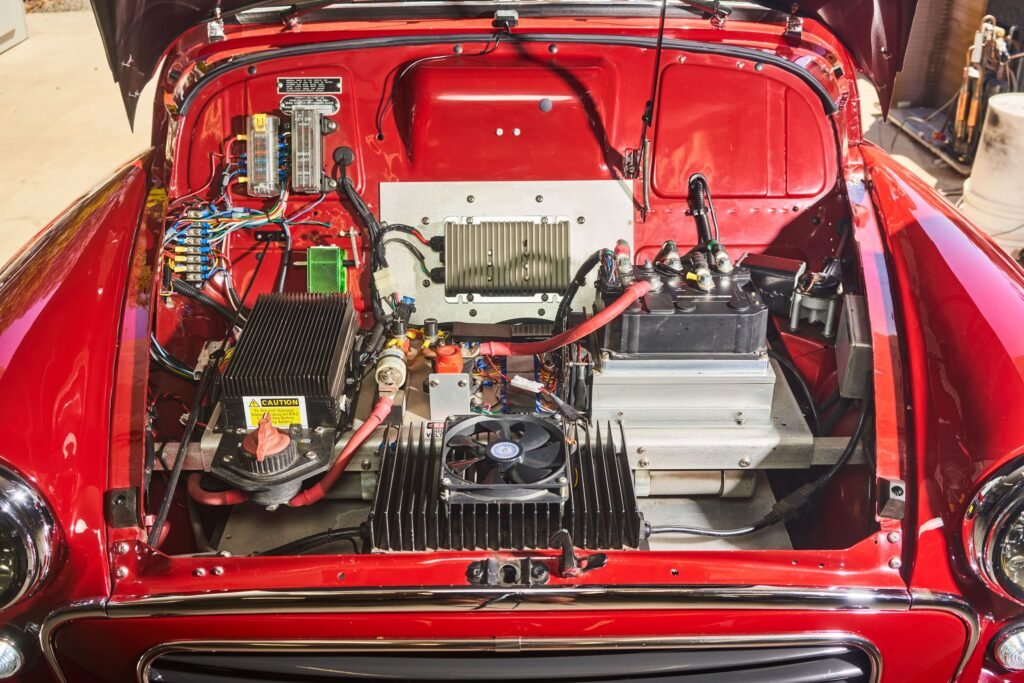
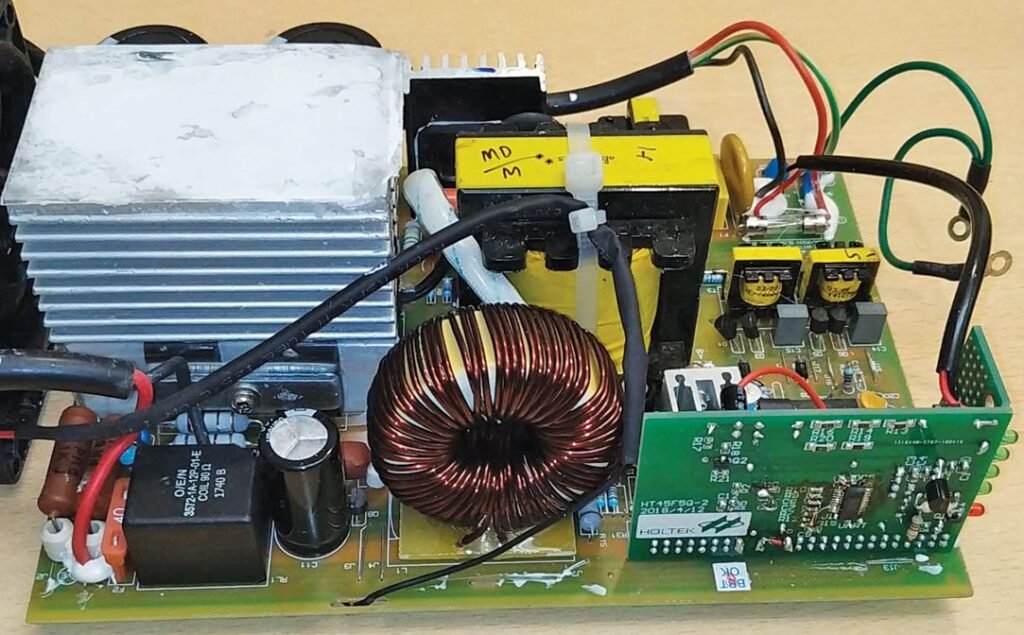
Schritt 7: Verdrahten Sie das System
Jetzt wird es technisch. Sie verdrahten:
- Der Motor zum Controller
- Controller zum Akkupack
- Akkupack zum Ladegerät
- DC-DC-Wandler zum 12V-System
Für viele Heimwerker ist dieser Schritt am einschüchterndsten. Nehmen Sie sich Zeit, überprüfen Sie jede Verbindung doppelt und ziehen Sie die Schaltpläne Ihrer Komponenten zu Rate.
Es ist eine gute Idee, farbcodierte Kabel und Schrumpfschläuche zu verwenden, um alles ordentlich und sicher zu halten.
Geschätzte Kosten:
- Verdrahtung und Zubehör: $300–$600
Zeitrahmen: 30–50 Stunden
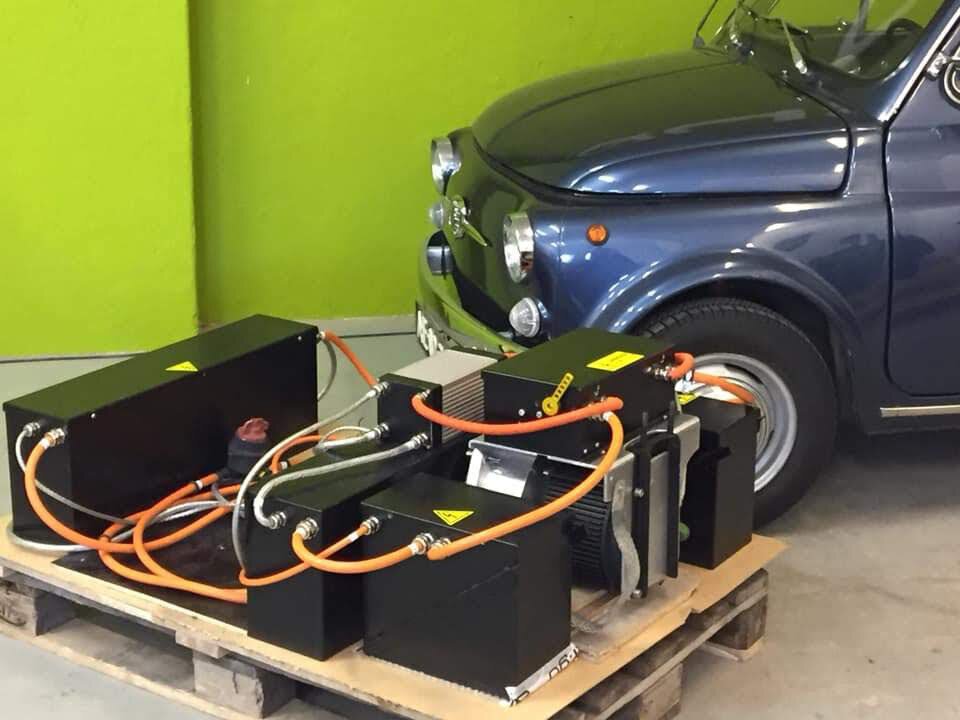
Schritt 8: Installieren Sie den Akku
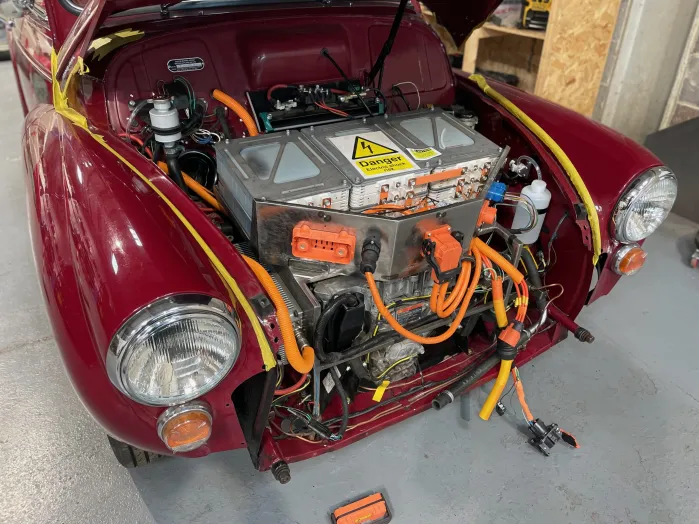
Die Platzierung der Batterien beeinflusst Fahrverhalten und Leistung Ihres Fahrzeugs. Normalerweise wird der Akku zwischen Motorraum und Kofferraum aufgeteilt, um ein ausgewogenes Verhältnis zu gewährleisten. Eine sichere Befestigung ist entscheidend – die Batterien dürfen auf holprigen Straßen nicht verrutschen.
Stellen Sie sicher, dass die Batterien ordnungsgemäß isoliert sind und dass Hochspannungskabel vom Chassis isoliert sind.
Wenn Ihr Budget knapp ist, beginnen Sie mit einem kleineren Akkupack und rüsten Sie später auf.
Geschätzte Kosten:
- Lithium-Ionen-Batterien: $2.000–$5.000
Zeitrahmen: 15–25 Stunden
Schritt 9: Installieren Sie das Ladesystem
Montieren Sie das Bordladegerät und schließen Sie es an Ihren Akku an. Installieren Sie einen J1772-Anschluss (Standard-EV-Stecker der Stufe 2) an einer zugänglichen Stelle – oft anstelle des alten Tankdeckels.
Sie können zu Hause zunächst ein Ladegerät der Stufe 1 (120 V) verwenden oder später für schnelleres Laden auf Stufe 2 (240 V) aufrüsten.
Geschätzte Kosten:
- Integriertes Ladegerät und Anschluss: $400–$800
Zeitrahmen: 5–10 Stunden
Schritt 10: Sicherheitsüberprüfungen und Systemtests

Bevor Sie den Schlüssel (oder Schalter) drehen, überprüfen Sie Folgendes:
- Alle Kabel sind ordnungsgemäß isoliert
- Keine losen Halterungen oder Schrauben
- Der Controller ist korrekt programmiert
- Brems- und Lenksysteme funktionieren
Testen Sie die Komponenten einzeln – Motordrehung, Batterieladung, Zusatzstromversorgung usw. Wenn Sie sich nicht sicher sind, wenden Sie sich an einen Elektrofahrzeug-erfahrenen Mechaniker oder nehmen Sie an einem Online-Forum für Elektrofahrzeuge teil.
Schritt 11: Zertifiziert und legal werden
Die Vorschriften variieren je nach Land und Staat, aber die meisten Orte verlangen:
- Sicherheitsinspektion
- Unterlagen zur Emissionsbefreiung
- Versicherungsanpassungen
- Aktualisierte Registrierung
In manchen Gebieten benötigen Sie eine technische Bescheinigung, um sicherzustellen, dass das Fahrzeug verkehrssicher ist.
Geschätzte Kosten:
- Rechts- und Registrierungsgebühren: $100–$500
Schritt 12: Viel Spaß mit Ihrem preiswerten selbstgebauten Elektroauto!

Sobald Ihr Fahrzeug straßentauglich ist, kommt der spaßige Teil. Sie haben gerade einen alten Spritfresser in ein emissionsfreies Alltagsauto verwandelt. Sicher, Ihr Elektroauto ist vielleicht nicht schneller als ein Tesla, aber die Zufriedenheit, es selbst gebaut zu haben? Unbezahlbar.
Geschätztes Gesamtbudget
| Artikel | Kostenspanne |
|---|---|
| Spenderfahrzeug | $500–$3.000 |
| Umbausatz/Teile | $3.000–$10.000 |
| Werkzeuge und Sicherheitsausrüstung | $300–$800 |
| Adapterplatte & Halterungen | $300–$1.000 |
| Verkabelung und Zubehör | $300–$600 |
| Batterien | $2.000–$5.000 |
| Ladegerät und Ladeanschluss | $400–$800 |
| Inspektions- und Rechtskosten | $100–$500 |
| Gesamt | $6.900–$21.700 |
Können Sie ein Auto günstiger umbauen?
Absolut. Einige ambitionierte Heimwerker haben es für nur $5.000 geschafft, indem sie:
- Verwendung von geborgenen Batterien und Motoren
- Verzicht auf nicht unbedingt notwendige Elektronik
- Beginnend mit einem sehr einfachen Fahrzeug
- Jede Arbeit selbst erledigen
Es hängt alles davon ab, wie viel Zeit Sie investieren möchten und wie kreativ Sie bei der Beschaffung von Teilen sind.
Abschließende Gedanken
Bei der Umrüstung eines Autos auf Elektroantrieb geht es nicht nur darum, Kraftstoff zu sparen – es geht darum, zu lernen, zu experimentieren und etwas ganz Eigenes zu bauen. Wenn Sie zum ersten Mal das leise Brummen des Motors hören und erkennen, Du Wenn Sie es geschafft haben, wissen Sie, dass sich jeder aufgeschürfte Fingerknöchel und jede nächtliche Verkabelungssitzung gelohnt hat.
Wenn Sie also leidenschaftlich, geduldig und praktisch veranlagt sind, dann wagen Sie es – denn der Weg zur Elektromobilität muss nicht mit Gold gepflastert sein.